Deciding on removing the tint on your car but don’t know how? Many people try to scrape the tint off using a very sharp razor or knife. And the only things they accomplish are a few scratched on your window and messy bits of tint film.
You could spray a light soapy solution and then scrape the film, but there are much better ways to remove the tint. People nowadays are resorting to using heat and special solutions to remove their car window tints. And you too can try one of these methods.

You can use many methods to remove window tints, such as using a hairdryer, steamer, and a knife. Once you remove the window tint, you need to remove the adhesive as well. Perhaps the most efficient way to do this is to dab rubbing alcohol on the window and wipe it clean. Finish off with a window cleaner and wipe down with a microfiber towel.
Keep scrolling to learn more about these methods and how to remove window tint from your car.
Preparing Your Car and Yourself:
Before you learn how to remove window tint, you must prepare both the car and yourself for the tint film removal. People who drive with decals or stickers on their car should take them off using any suitable method. Removing the stickers is important since they can get in the way of your window tint removal and only make the task messier.
Any of the tint film removal methods mentioned below can be used to remove decals and stickers. But you should first try scraping them off, as some stickers might be important.
Furthermore, you’ll want to come prepared with all the tools you need, as well as any extra hardware. If you’re going to be using a method that requires an electrical connection, then be sure to have an extension cord that can reach your car.
Similarly, if you plan on using a steamer, then you need to prep the steamer as well. Turn it on and let it sit for a while to produce enough steam for the process.
You might also want to stock up on some scraping tools, such as razor blades and steel wool. These can be used for removing window tint film pieces that refuse to move.
How to Remove Window Tint from Your Car:
Scraping Method:
One of the best ways to remove the tint from your car is to simply scrape it. Scraping, while it may seem like a trivial solution, can be one of the toughest. Most of the time, scraping can be time-consuming, difficult to implement, and may leave scratches on your window.
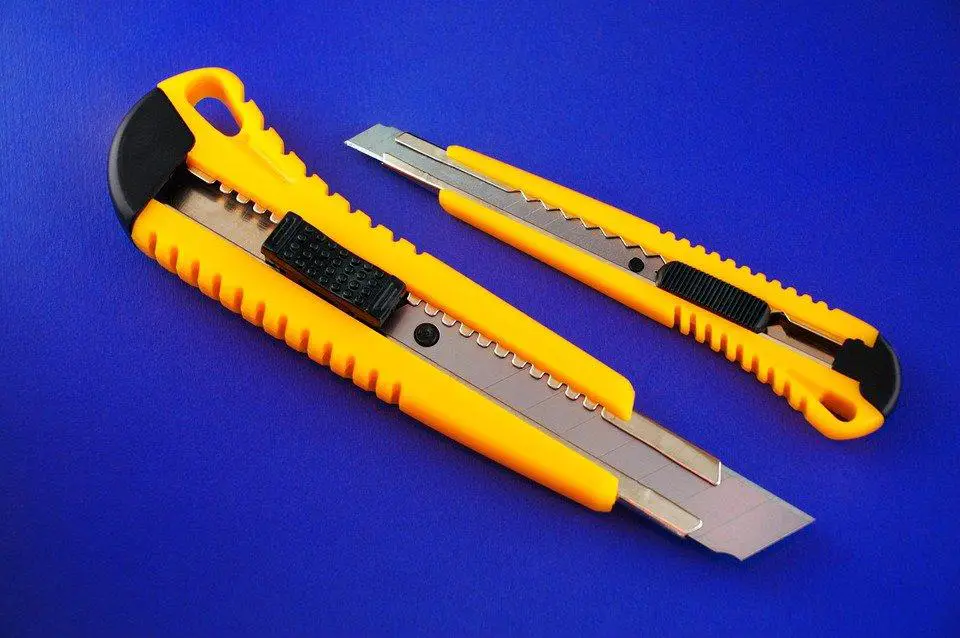
Nevertheless, there are a few tools you can use to scrape the tint. Razors are by far the most common tools used for this method. They can get the job done neatly, and many won’t scratch the window pane, given that the glass isn’t of cheap quality.
For those who do not have a razor, a kitchen knife can work the same. A knife might even give you more coverage than a razor or an Exacto knife. Just be sure to clean your knife afterward, especially if you’re using alcohol or ammonia.
Steel wool is a great tool for when the tint is too well stuck to the car windows, and you have no means of releasing it. It can also give you an “opening” to use your razor or knife. Many methods require you to use steel wool to scrape off the tint and decals.
Using Soap and Water:

After scraping, the soap and water method should be your next go-to. Many drivers resort to this method since it’s cheap and doesn’t require much effort.
For this, you’ll be needing:
- A pot of water.
- Any suitable soap (preferably liquid).
- Sponge.
- Garbage bags.
First, heat a small pot of water until it almost begins to moil. Then remove it from the heat and add in your liquid soap, and stir thoroughly till lather forms. Make sure that the water doesn’t cool down, as the heat is essential for this method.
Now take your sponge, saturate it, and then dab it against the corner of the tint. Take care not to burn yourself, as the water will be piping hot. After a few applications, check to make sure that the window tint has started to warm up.
Once you feel that a significant portion of the tint has warmed up, carefully peel it from the corner. You can use a knife or a razor to aid you in this. But after the initial cut, you can usually get a neat peel using just your fingers.
Be sure to remove window tint adhesives as well, which we will highlight in a later section.
Hairdryer Method:

Those who find the soap and water method too tedious, dangerous, or just messy, try using a hairdryer. A hairdryer (or heat gun – basically anything that will emit bursts of hot air) will heat the tint and release it from the car windows.
You’ll need the following tools:
- A hairdryer/heat gun.
- Razor or knife.
- Garbage bag.
- Extension cord (optional).
- A power source.
To get to the corner of your window, slide your window down about an inch or two. Then, plug in your hairdryer/heat gun, and start heating the very corner of your window. Keep heating it till you’re able to scrape the tint off using a knife or a razor.
After you pull off the corner, you can simply use your fingers to peel off the rest of the tint while heating the respective area. However, if the tint has too well adhered, or you have weak hands, you can use the razor to get it off.
If, at any time, the tint starts to resist pulling, simply heat it more near the bottom. You might want to crank up the heat setting on your hairdryer if the tint doesn’t get hot enough. You can also try heating the other side of the car windows, which you will need to do if you live in a cold climate.
After this, you’ll need to remove old window tint adhesive using whatever method you find suitable. Scrape off any remaining pieces of tint using either the razor or steel wool.
Using a Steamer:
Aside from a hairdryer, another great device that you can use to heat the tint is a steamer. Even your mechanic probably uses this method. The main issue with this method is that most people don’t have a steamer at home. So you might just end up settling for a hairdryer or the soap and water method.
Before you start, gather the following items:
- A clothing steamer.
- Razor or knife.
- Garbage bags.
- Extension cord (optional).
- Power outlet.
Plug your steamer into the power outlet (use an extension cord if needed) and wait for it to steam. You need to prep the steamer up and let it sit for a while before you can use it. Once sufficient steam has formed, it’s time to begin the procedure.
Start by lowering your car’s window a bit to access the edge of the tint. Then apply steam to both sides of the window. You can get away with only applying it on the tint side if you live in a hot climate. But for most people in the Northern Hemisphere, you’ll need to heat both sides.
Peel off the corner using either your fingers or a razor blade. You can use the blade to start and use your fingers to get a satisfying peel. Once you’ve peeled off a good amount of tint, steam the next section, and continue doing so until the entire tint has been removed.
After that, remember to also remove the adhesive and wipe your window down with a microfiber or paper towels.
Ammonia and Sun Method:

Another method used to remove window tints is the ammonia and sun method. Ammonia, a naturally occurring chemical compound, when reacts with the sun’s UV rays, releases heat. This heat can then be utilized to lift the tint off your windows.
Buy all of these items before proceeding with the method:
- Soapy water.
- Ammonia (preferably in a spray bottle).
- Garbage bags.
- Razor blades.
First, prepare your windows by masking the entire door and edges of the window frame. Then cut out black garbage bags in the shape of your window. This can be hard to do since you don’t exactly have a stencil. The easiest way to do this is to place the bag over the window, use a razor blade to cut out the shape of the window, and separate the two layers of the bag.
Garbage bags are the best for this job since they can cover the whole window, absorb the most sunlight, and won’t get damaged themselves. To get them to stick to the window, you need to apply a light spritz of soapy water to the window. The solution can be of any concentration, but three-fourths of water and a quarter of dish soap is generally preferred.
Now that you’ve pasted your garbage bag over the window, it’s time to apply the ammonia solution. Spray the ammonia on the outside of the window, over the garbage bag, until it’s completely saturated. Then let this setup dry for about an hour or two.
Now remove the bags, being careful not to let any ammonia get onto your skin or into your lungs. And peel the tint away either with your hands, a razor or knife, or steel wool if you can’t get it from the corner.
If you didn’t quite catch all that, here’s a handy video guide to walk you through the process:
How to Remove Tint Adhesive from Car:
Scraping Method:

Now that you know how to remove window tint, you’ll also want to take care of the adhesive lying underneath. Many times, the adhesive will come with the tint. But that is often not the case. Luckily, you can remove the adhesive using any of the above methods, such as scraping it off.
You’ll need to use a soapy solution to get the adhesive wet and fluffy, and then scrape it off with a dull scraper. It’s not advised to use a razor blade, since it will be too close to the glass of the window. Instead, use either a dull knife or an ice-scraper.
If you are using a razor or any other sharp object, be sure to wear thick rubber gloves. Not only is the window all soaped up, but so are your hands. One miscalculation and you might end up hurt. It’s also recommended to only use this method in the sun or during the summers since the heat will help release the adhesive.
With Steel Wool:
You can use steel wool to scrape away the adhesive. Since the adhesive isn’t exactly present in the form of a film you can peel off, steel wool will help to vigorously remove the glue. A lot of people don’t like to use this method since the aggressive nature of the scrubbing might damage your glass.
The trick here is to apply a soapy solution to the glass first. This will not only help the adhesive to rise but will also prevent any damage to the window pane. You can try to first gently rub the surface, but if the glue is too strong, you can use more aggressive strokes.
Then either wash the soap off or wipe it with a microfiber towel.
Rubbing Alcohol:
Finally, you can use rubbing alcohol to remove the glue from your car’s windows. Many people swear by rubbing alcohol. It’s readily available and removes the adhesive with zero effort.
Start by squirting some rubbing alcohol onto a sponge. Never use the alcohol directly, even in a spray bottle. It will damage other parts of your car and will be very hard to remove later on.
Dab the sponge onto the window just like you would with the soapy water. Then simply wipe it down using a microfiber towel.
If you’re confused as to how you should use rubbing alcohol, take a look at this video guide:
Aftercare:
Once you’re done removing window tint adhesive, you can finish off by applying a glass cleaner and using a microfiber towel. This should remove any residual adhesive from the window.
How Much Does It Cost To Remove Window Tint From Your Car?
Since most of the tools you need are readily available in your home, you can spend as little as $20 for removing the tint. Remember that this number is only for one car. It’s not recommended to ask a mechanic to do the job, seeing just how easy it is to do it yourself.
If you do decide to consult a professional, you can end up spending well over $100. They’ll be using some special solutions to remove the glue, such as Goo Gone. But since you know how to remove window tints yourself now, you can cut down on that cost.
Verdict:
There are a lot of handy techniques for removing car window tints, many of which won’t scratch your windows. And while you could spend a couple of hundred bucks at a mechanic, it’s better to get the job done yourself. And cheaper too.
While the techniques differ, they follow the same procedure—first prep your car up for the job. Then scrape the tint, followed by the adhesive. And finish up with a glass cleaner and a microfiber towel.
Now that you know how to remove window tints, there’s no time to waste. Those tints won’t peel themselves!

