Decals on your car can be a great way to express your personality, but over time, these can become faded or worn out. This can give your vehicle an older, worn-down look. Removing car decals can be a simple job you can perform at home with simple hand tools. We are going to give you 5 easy steps on how to remove car decals from your vehicle.
Types Of Decals Found On Cars
When it comes to car stickers and decals, there are many different types that people tend to add to their vehicles. From the smallest of stickers to the largest vehicle wraps, just about every car you see has some form of car decal on it. Let’s take a look at the most common automotive decals to give you a better understanding of what your vehicle may have and the best ways to remove them.
Bumper Stickers
Bumper stickers are the rectangular decals usually found on the vehicle’s bumper. These are most popular for showing off children’s school achievements such as the honor roll or showing support for your favorite sports team. These decals can be distracting, so removing them can actually make you safer. These decals are relatively easy to remove, but once they start to age, they can be a little more difficult.
Vehicle Wraps
If you want to transform the look of your entire vehicle, a wrap may be your best bet. A paint job can cost you thousands of dollars, so for those who want to change their car’s color, wrapping it with a vinyl wrap can be a cost-effective, non-long term solution. Removing a vehicle wrap can be a little tricky if the car was not properly prepped or the wrap has become old and brittle. Properly installed wraps that have been taken care of can easily be removed with little to no tools at all.

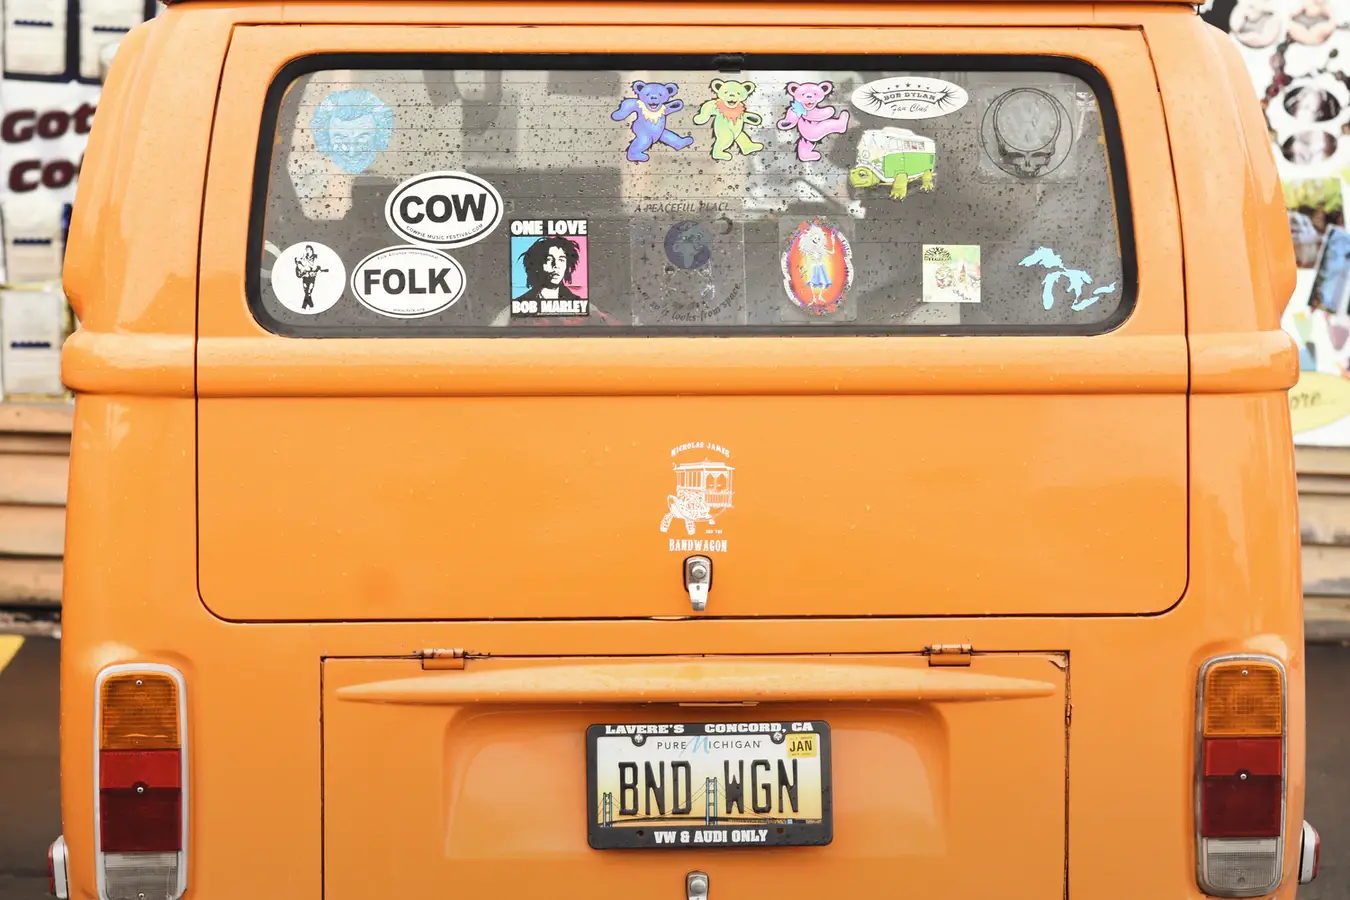
Window Decals
Window decals are the most common decal found on a car. There is a difference between a window decal and a window sticker. Decals are usually die-cut and are meant for car window applications. Stickers can be applied just about anywhere, so their adhesive is a little different than decals, making them harder to remove.
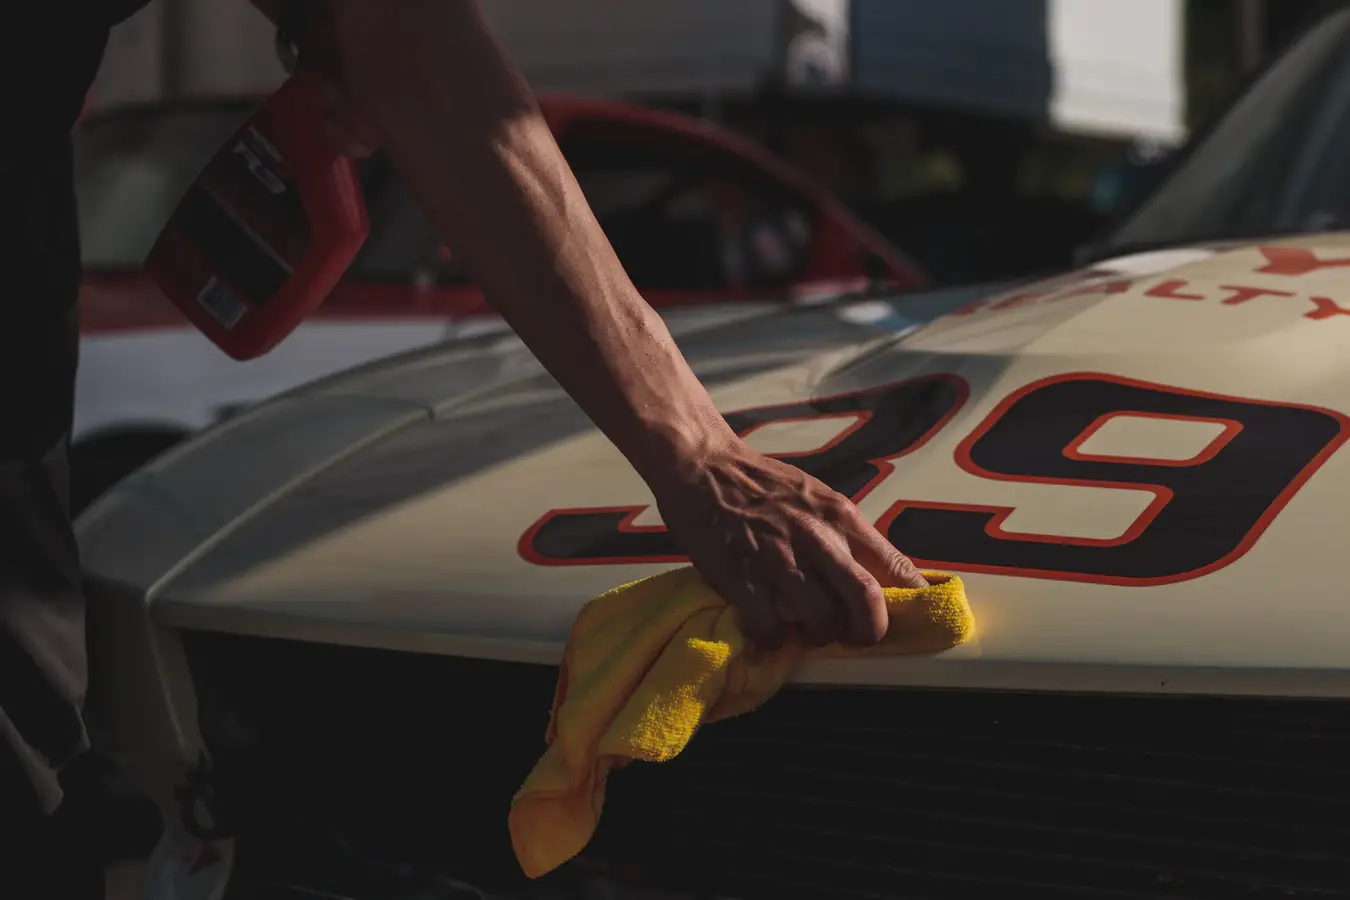
Car Stickers
Car stickers will include any sticker or decal that is applied to the painted sections of your vehicle. While most like to keep stickers off their expensive paint job, many race cars or cars used for companies sport these decals. You can find these stickers in all shapes and sizes to give each car its unique look.

Ways To Remove Car Decals
Removing decals from cars without damaging your paint or windows can be a little intimidating. After all, the last thing you want to do when removing decals is to cause damage to your vehicle. To help you safely remove decals without damaging paint or windows, we have put together this quick step-by-step guide on how to remove car decals.
Clean The Area
The first step in removing decals from your vehicle is to clean the decal and the area surrounding the decal. A clean work area will allow you to safely remove the sticker without having to worry about adding more dirt or grime into the mix.
If you remove a sticker from a car window, use a window cleaner such as Windex to clean the decal and the glass around the decal. Use a lint-free microfiber towel to dry the area completely.
For stickers affixed to a painted surface, you will want to use something safe for your car’s paint. If you have an instant detailer, this is a great way to clean the area safely quickly. If you do not have an instant detailer, you can use a mixture of soap and water in a spray bottle to clean the sticker and the paint surrounding the sticker.
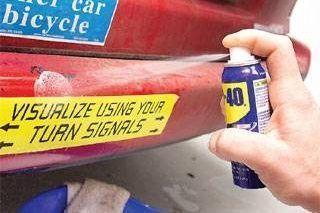
Warm It Up
All decals come with an adhesive backing to allow them to stick to just about any surface. This adhesive can easily be manipulated with a little bit of heat. This is why you see some decals becoming brittle or starting to peel after constant exposure to the summer heat.
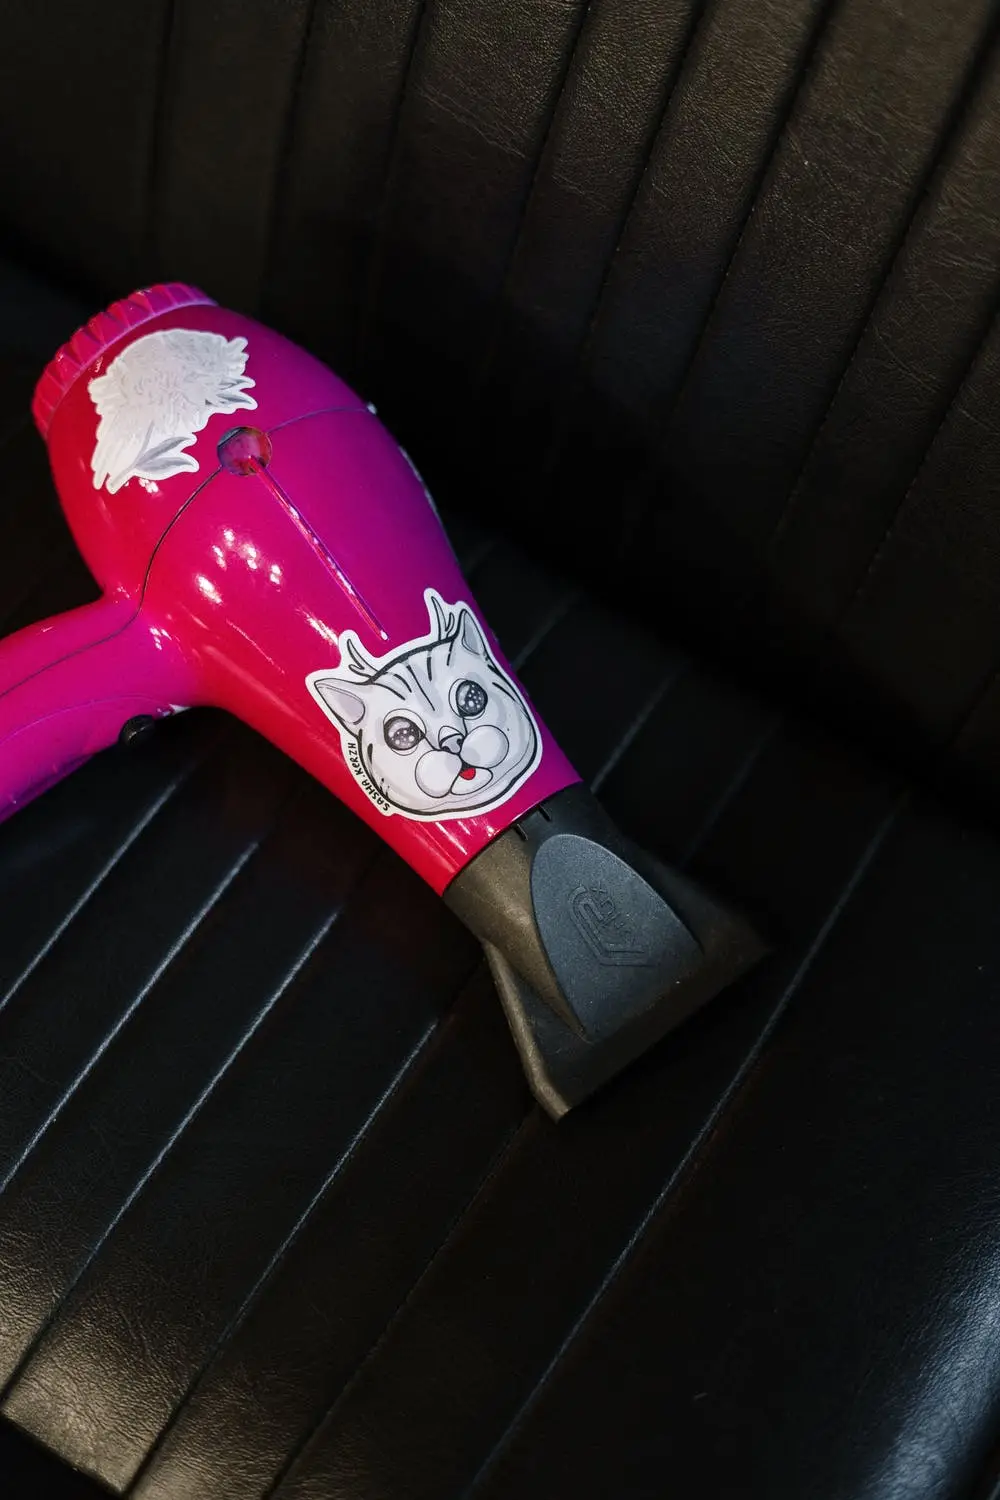
Heat, when used correctly, can be used to help remove decals without damaging the paint or glass on your vehicle. After properly cleaning the sticker and the area around the sticker, use a heat gun or hair dryer to apply direct heat to the sticker. You will want to keep the heat source about 6-8 inches from the sticker to avoid damaging the paint or window.
A great tip is to start slow and use back and forth motions to heat the decals not to damage the paint slowly. A concentrated heat for long periods can quickly damage paint, so take your time here. The heat should activate the adhesive, making it much easier to remove. Here is a great tutorial on using heat to remove decals using heat: https://www.youtube.com/watch?v=K4oTyLxzo3o
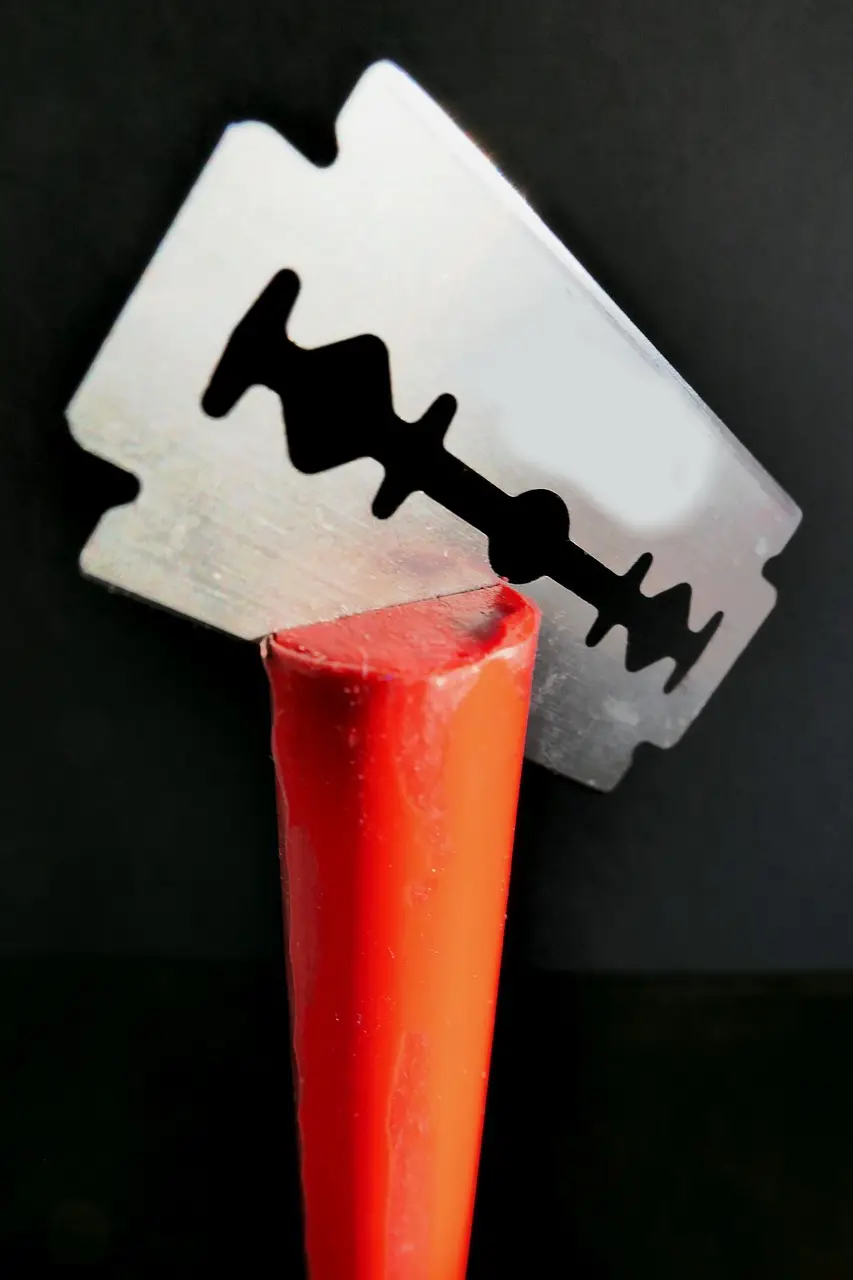
Use A Razor Blade Or Scraper
In most cases, to fully remove car decals from your car, you will need to use a razor blade or scraper. A scraper will allow you to not only remove the sticker but will also help to remove most of the adhesive left behind.
Choosing the right scraper for the sticker on your car will depend on the material the sticker is affixed to.
If you are trying to remove a sticker from a car window, you can use a razor blade to remove it easily. Once you have cleaned and warmed up the decal, use a razor blade at a 45 degree or less angle to remove the decal without damaging the glass slowly. You will want it to glide against the glass and under the decal. Check out this video to learn how:
If you are trying to remove a sticker from your car’s paint, you will not want to use a razor blade as it can cause damage. You will need to use a plastic scraper designed for removing decals. These plastic scrapers can be found at any automotive store and are great for removing decals on painted surfaces. These can be used in the same fashion as a razor blade on the glass to remove car decals from bumpers, doors, etc., safely.
Try Using The Appropriate Chemicals
Whether you were able to remove the decal and the only residue remains, or you are having a hard time removing all of the decals, you can try using chemicals such as an adhesive remover to remove any remnants fully. Adhesive and sticker material is not easily removed with water and soap alone. Sometimes it will take harsher chemicals that will help break down the material without damaging paint or windows.
Using an automotive-safe adhesive remover like goo gone can help with removing the adhesive residue. Car stickers are most likely going to leave behind some residue no matter how clean you get it. Sometimes window cleaner isn’t enough to fully remove the adhesive or glue residue.
Clean Any Remaining Residue
Once you have completely removed the decal from your car, the last step will be to clean the area one final time. You can use the same cleaning products from before and finish up with a microfiber cloth. This will help to make it look like the decal was never there. While this will get this specific area clean, this is the opportune time for a car wash to give your whole car a clean look.
How To Apply Decals Properly
Now that we have discussed how to remove car decals, let’s talk about how to install them properly. Following these three easy steps can help make installing a sticker easier and can even make removing them in the future much easier.
Clean The Area
The first thing you are going to want to do is clean the area you are applying the decal to. If you are applying to paint, you will want to use soap and water or an instant detailer to clean the surface properly. For those applying a decal to a window, you can use a high-quality glass cleaner such as Windex. Dry the surface to prep for decal installation.
Apply Soapy Water
This is a trick that many people are not aware of that makes installing a decal less frustrating. Trying to install a decal dry leaves little room for error. Spray the surface and the back of your decal with a mixture of soap and water to adjust once the decal is applied—the soap and water act as a lubricant that does not affect the adhesive.
Squeegee & Dry
Once your sticker is right where you want it, pat the decal and surrounding area dry or use a squeegee to remove excess water and soap. You will want to make sure that there are no air bubbles under the decal. You can use a credit card as a squeegee to remove these bubbles. Ensure the whole area is dry and you are finished!
